The kitchen is the heart of your home, and if you ever plan on selling your house, this is one of the places you want to give the “wow factor.” This doesn’t mean you have to completely remodel your kitchen; instead, something as simple as painted kitchen cabinets can help transform the entire space. Kitchen cabinet refinishing is an easy process and could be one of the best investments you can make to your kitchen. We are going to go through the kitchen cabinet painting process step-by-step.
Step 1: Remove Doors, Drawers and Hardware
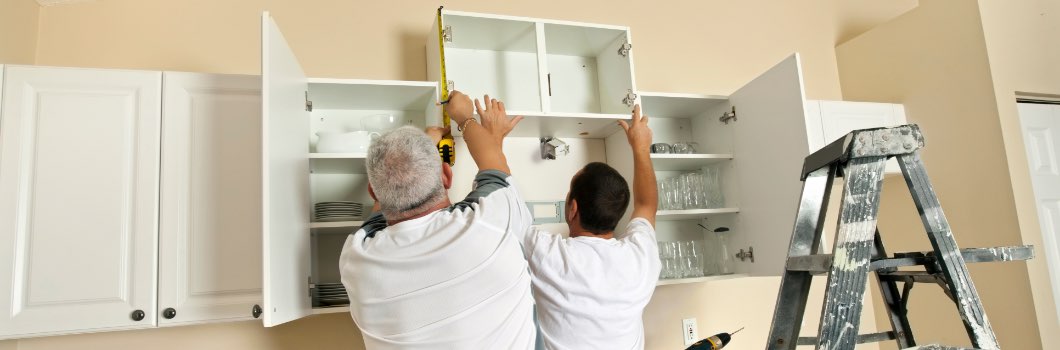
Before you can paint your cabinets, the doors, drawers and hardware must be removed. If you plan on reusing the hardware, be sure to place everything in a safe place like a Ziploc bag. One of the things I have heard is to number your doors so you remember the location for reinstallation. While this may seem like a good idea, it is a waste of time, in my opinion, as you will be painting over those numbers anyway. What I did is find new hinges that were the same as the ones I took off but a different color; I went from bronze to black. This made reinstallation of the doors pretty simple as everything lined up, but I did have to play a little musical doors. If you are going to go with a completely different hinge altogether, it really won’t matter.
Step 2: Clean and Sand the Cabinet Surfaces
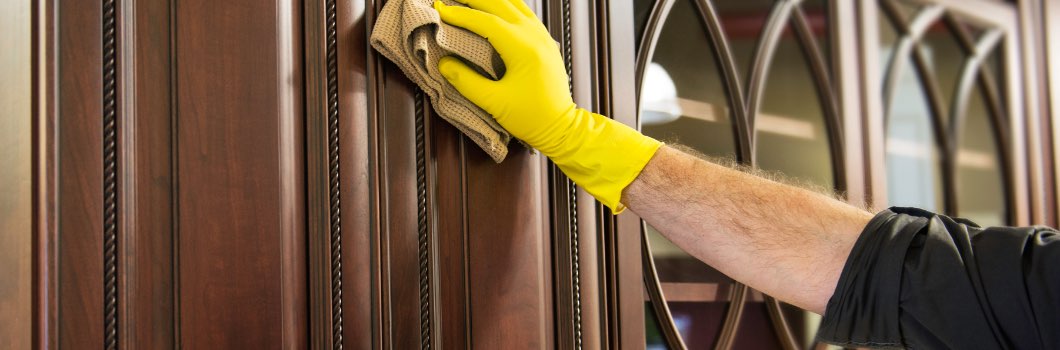
Once you have all the doors, drawers and hardware removed, it’s time for the power cleaning portion of kitchen cabinet refinishing. Start by cleaning with a mix of Dawn dish liquid and water. Scrub using a green Scotch Brite pad, rinse with water and dry with paper towels. Next, using a 50/50 mix of denatured alcohol and water, scrub again with a green Scotch Brite pad and dry with paper towels. Once you are done cleaning, sand the surfaces with a 220 grit sanding pad or sponge.
Step 3: Mask the Area
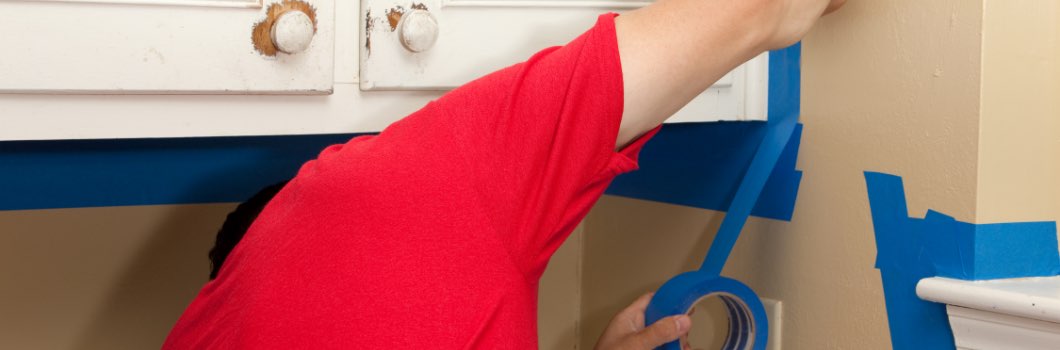
This step, in my opinion, is what takes the longest. You will need to mask off the floors around the cabinets and the openings, and be sure to cover everything you don’t want to get paint on. Once you have everything masked off, it’s time to start painting your cabinets.
Step 4: Apply Primer to Your Kitchen Cabinets
I suggest using a stain blocker primer like General Finishes water borne Stain Blocker.
You can apply the primer with a brush, but I found it to be quicker using an HVLP sprayer equipped with a 1.3mm aircap set. Spraying the frames of your kitchen cabinets is straightforward, but the doors are a little more challenging. I made a swiveling platform with painter pyramids to paint the doors on.
You will also need to figure out where you are going to put the doors for drying. Most cabinet refinishers use drying racks, but I drilled a small hole in the end of the door where it couldn’t be seen, screwed in a small hook and hung them on a wire fashioned across my garage.
Applying primer to the drawers of your kitchen cabinets is a basic task. Use masking and regular paper around the drawer boxes and prime the faces. Apply two light coats of stain blocker primer, letting it dry for two hours between coats, and sand with 220 in between coats. If you want the primer to dry faster, you can add an accelerator.
Step 5: Apply Cabinet Paint
Use a good quality cabinet paint like General Finishes Milk Paint or White Poly. Spray one or two coats of Milk Paint or White Poly cabinet paint and allow to dry 1-2 hours in between coats, sanding with 220 in between coats. At this stage, you can be done or you can topcoat with a clear like General Finishes Clear Poly. I opted to do the shabby chic distressed look, so after I finished with the Antique White Milk Paint, I went with a Van Dyke Brown Glaze Effect.
Step 6: Apply Clear Coat to Your Cabinets
Apply two or three coats of clear like General Finishes water borne Clear Poly available in flat, satin, semi-gloss or gloss. Allow to dry 1-2 hours and sand with 220 between coats. For faster turnaround, use General Finishes Accelerator. About an hour after the last coat of clear, install the new hardware. Now you can enjoy the beautiful upgraded look of your kitchen.
For more articles like this visit our Blog. If you are a professional refinisher and want to join other like-minded professional refinishers to discuss process, visit the elite Facebook group Refinishing Contractors.
Learn More About Professional Bathtub Refinishing
TopKote has everything you need for your refinishing project including materials and training. If you are looking for a professional, contact us and we will direct you to a Topkote Pro nearest you.
Shop Tub Refinishing Products Become A Topkote Pro Find A Topkote Pro